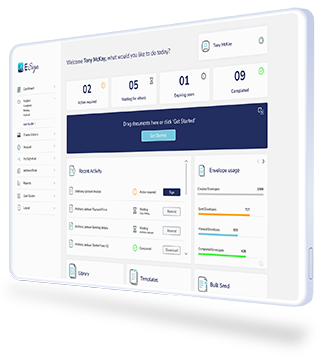
How to Install E-Sign for Salesforce
Follow our step-by-step guide to install the E-Sign app to your Salesforce Account.

How to Install E-Sign for Salesforce
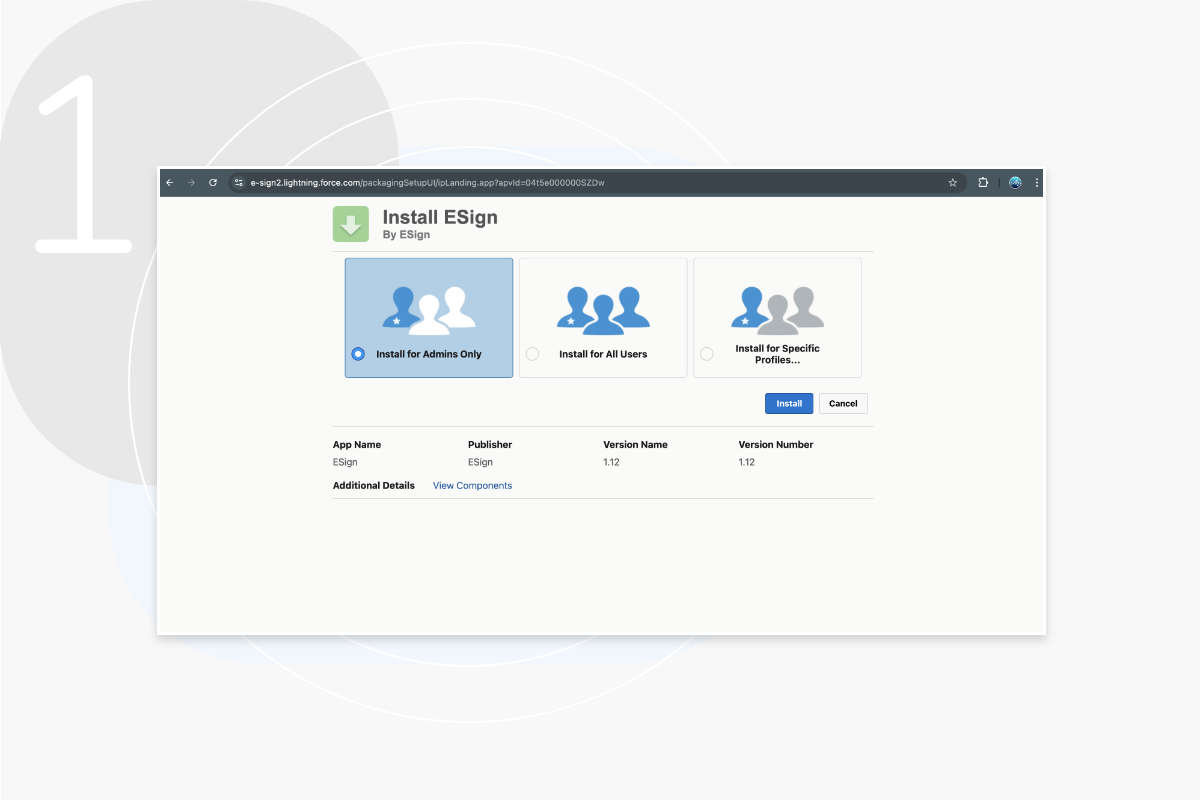
Step 1
Once you have downloaded the E-Sign plug in, click ‘Install for Admins only’.
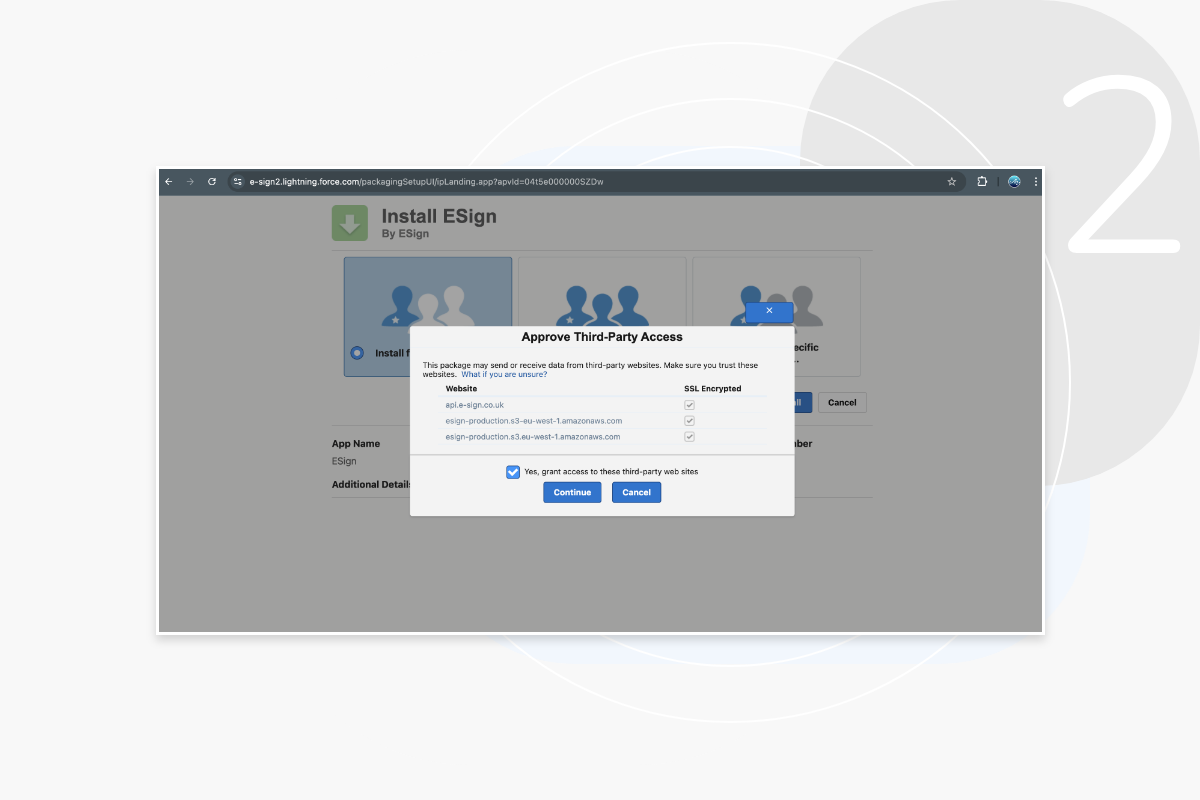
Step 2
Ensure that you grant access to the third-party E-Sign platform.
Step 3
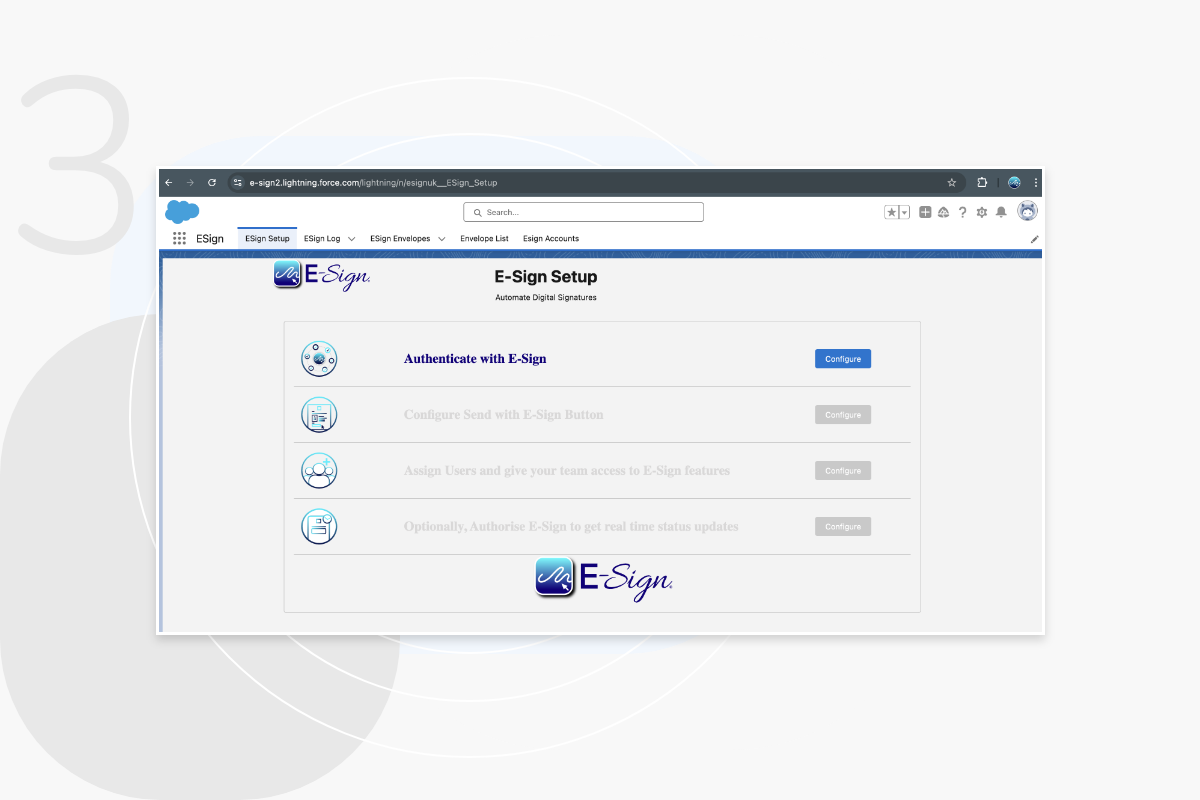
Here you will be prompted to the E-Sign Set up page. To authenticate your E-Sign account, click ‘Configure’.
Step 4
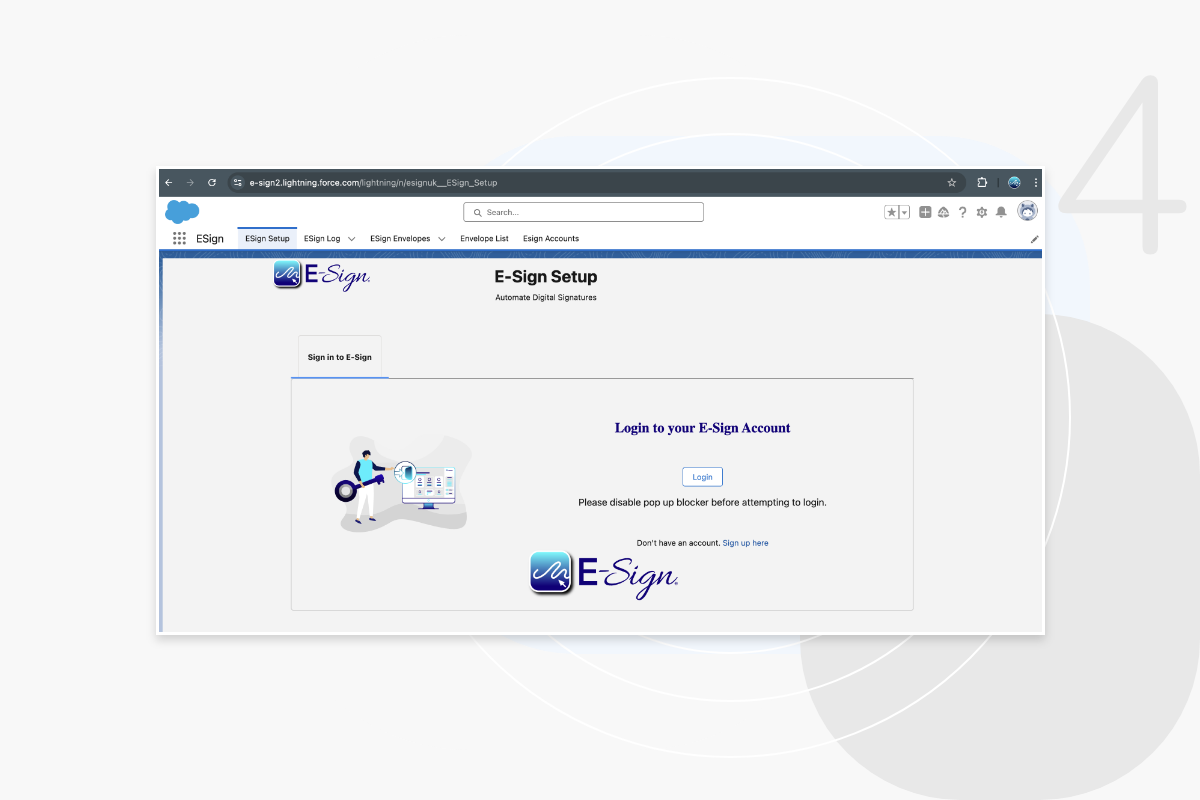
Here you will have the option to login to your E-Sign account. A pop-up window will appear, promoting you enter your login details.
Step 5
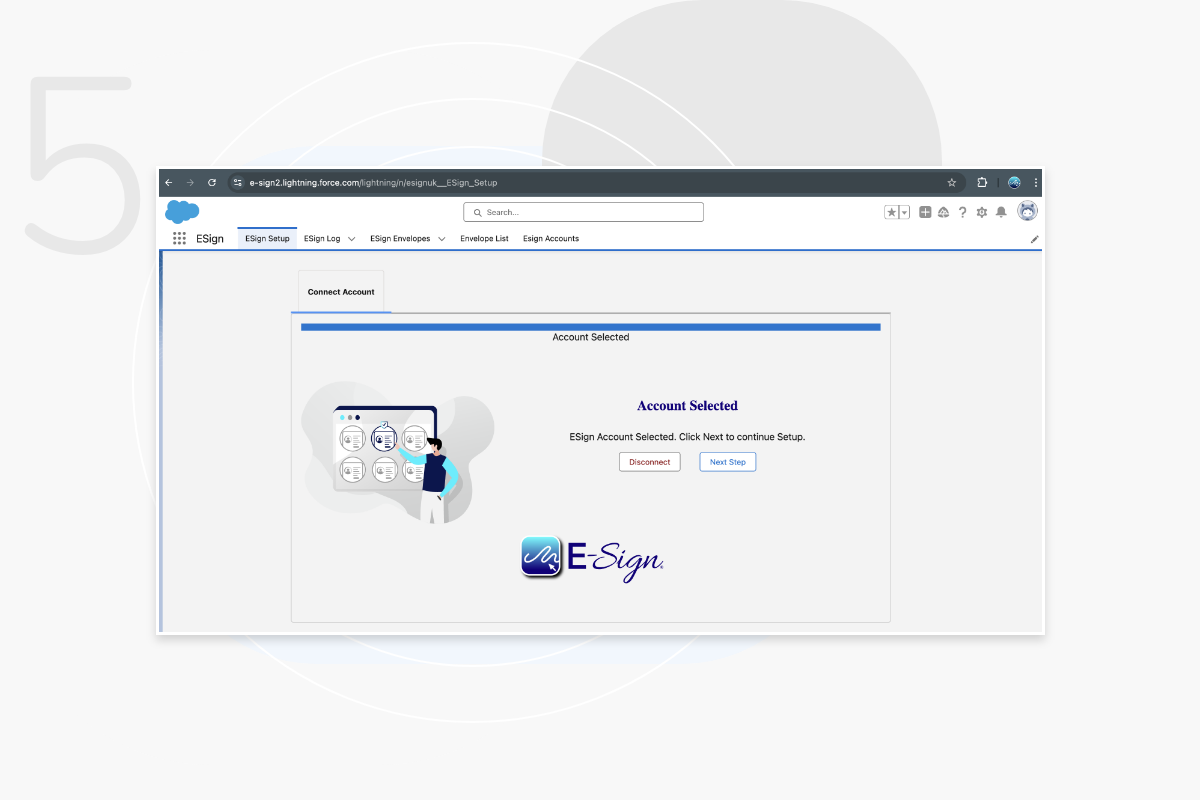
Once you have entered your E-Sign login details, click ‘Next Step’.
Step 6
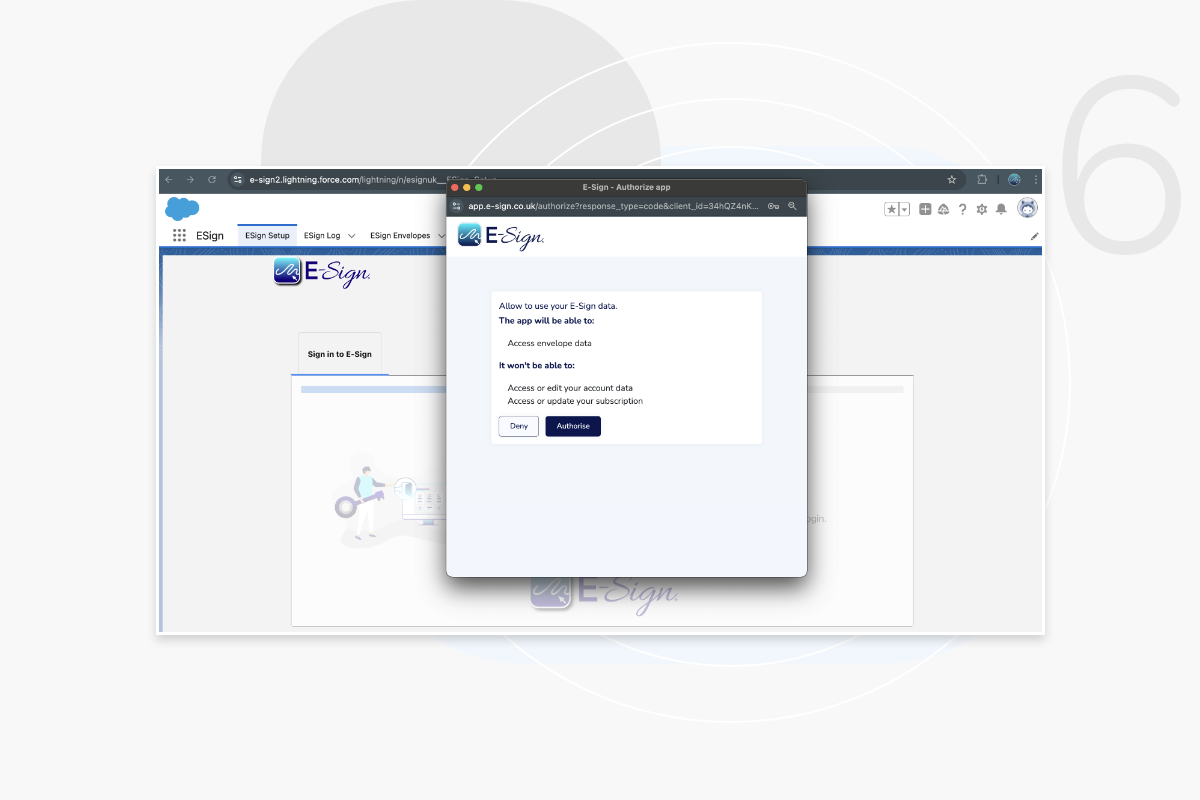
Click ‘Authorise’ to grant access to your E-Sign account.
Step 7
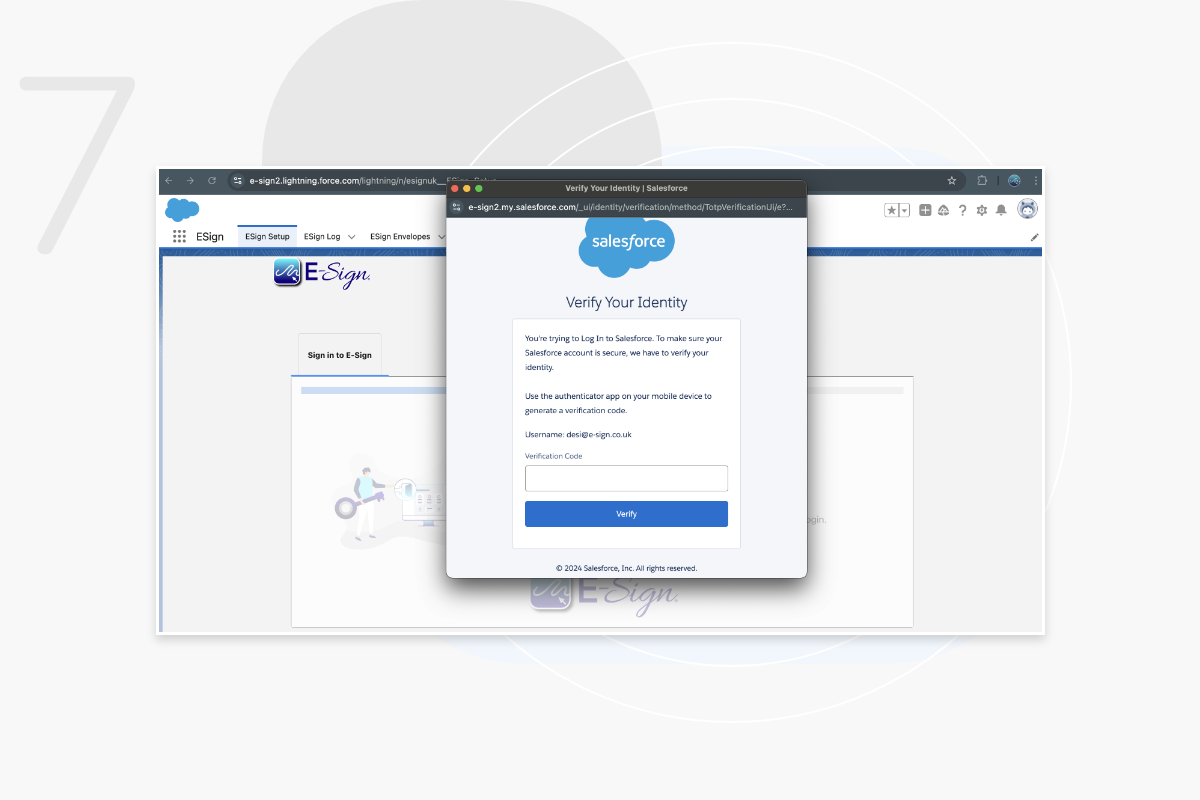
You will then be required to re-enter your Salesforce login details. You may also be required to verify your identity using an Authenticator app.
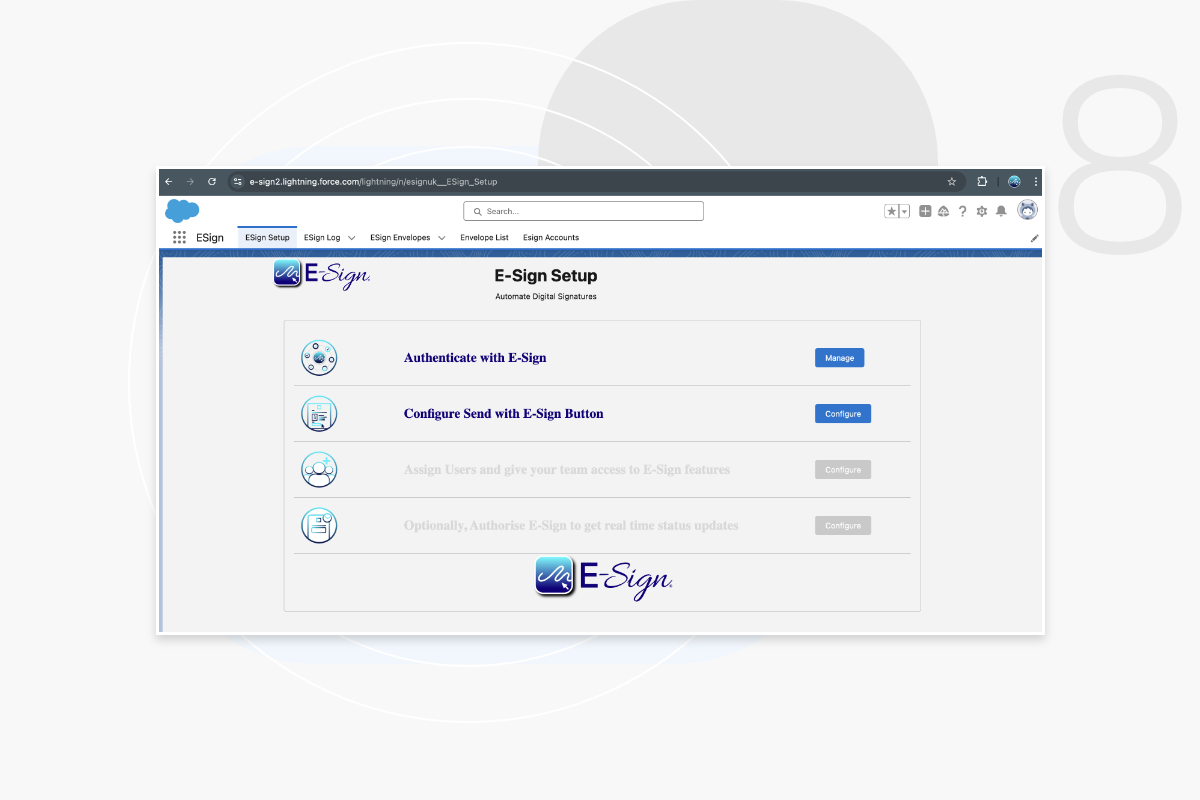
Step 8
To enable the ‘Send with E-Sign’ button, click ‘Configure’.
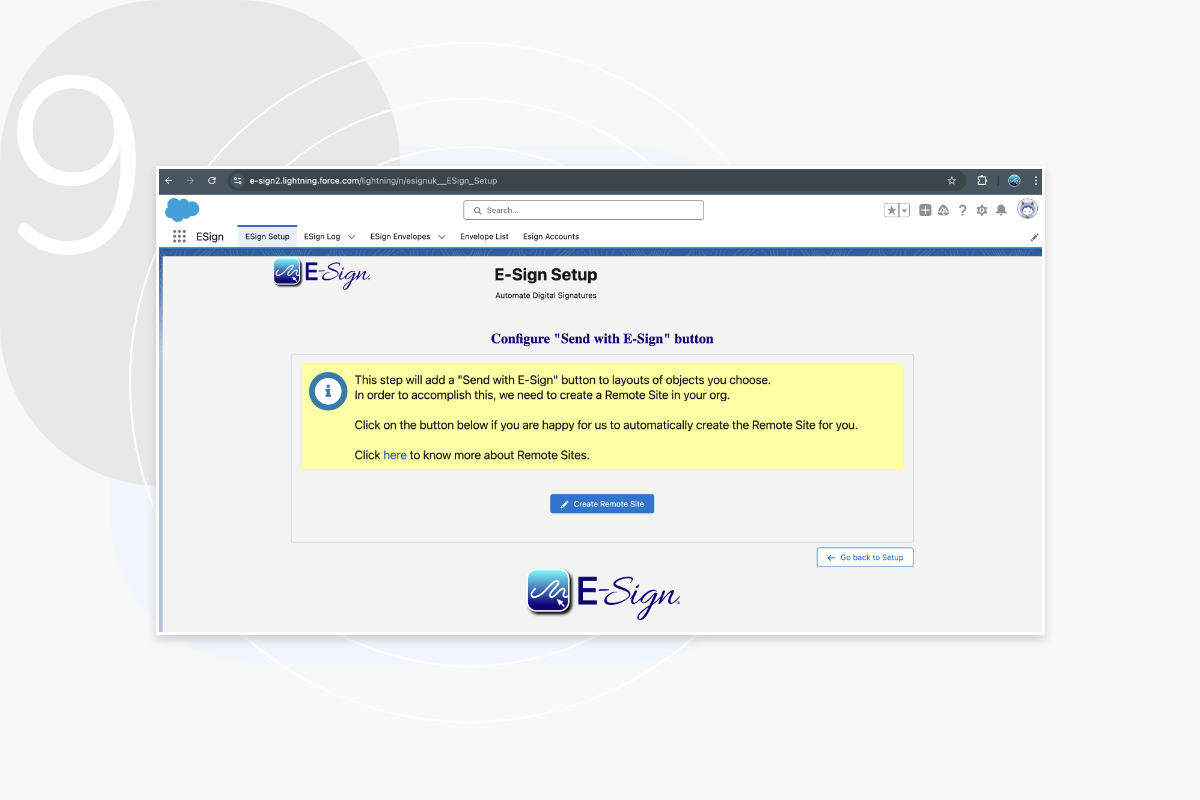
Step 9
To complete this step and create a Remote Site in your Salesforce organisation, click ‘Create Remote Site’.
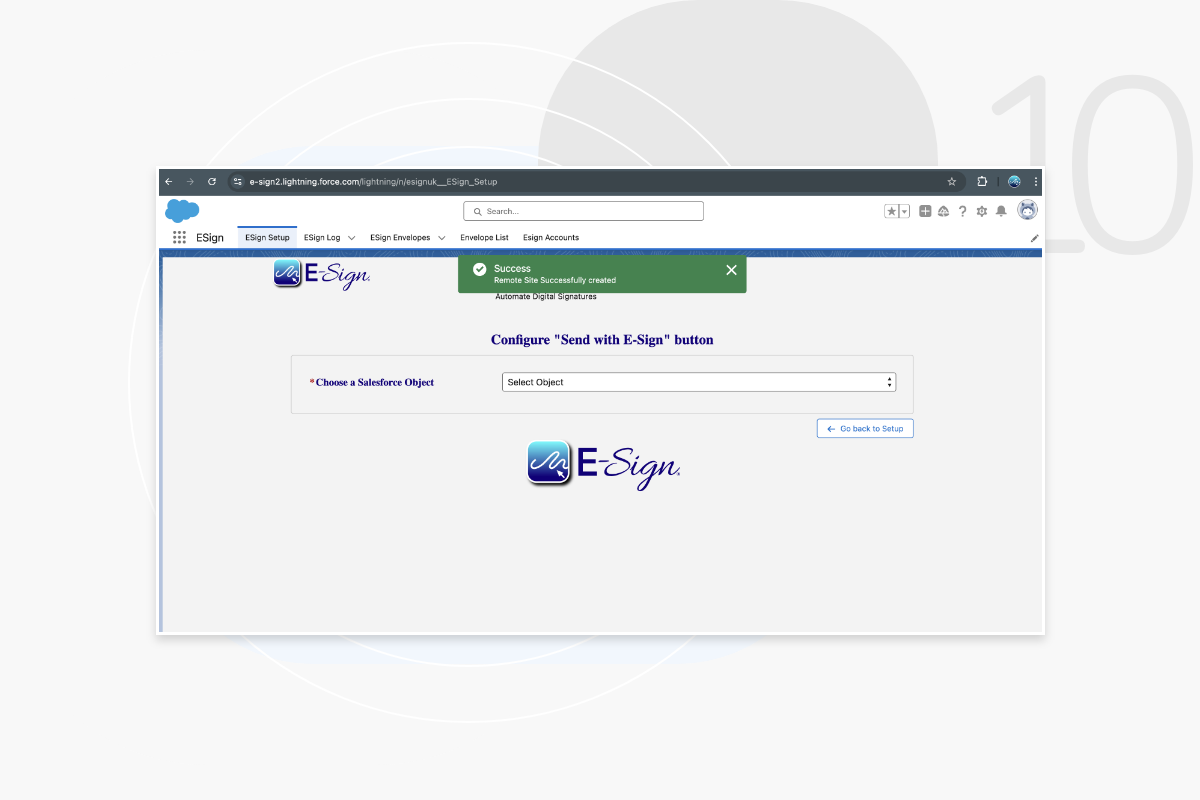
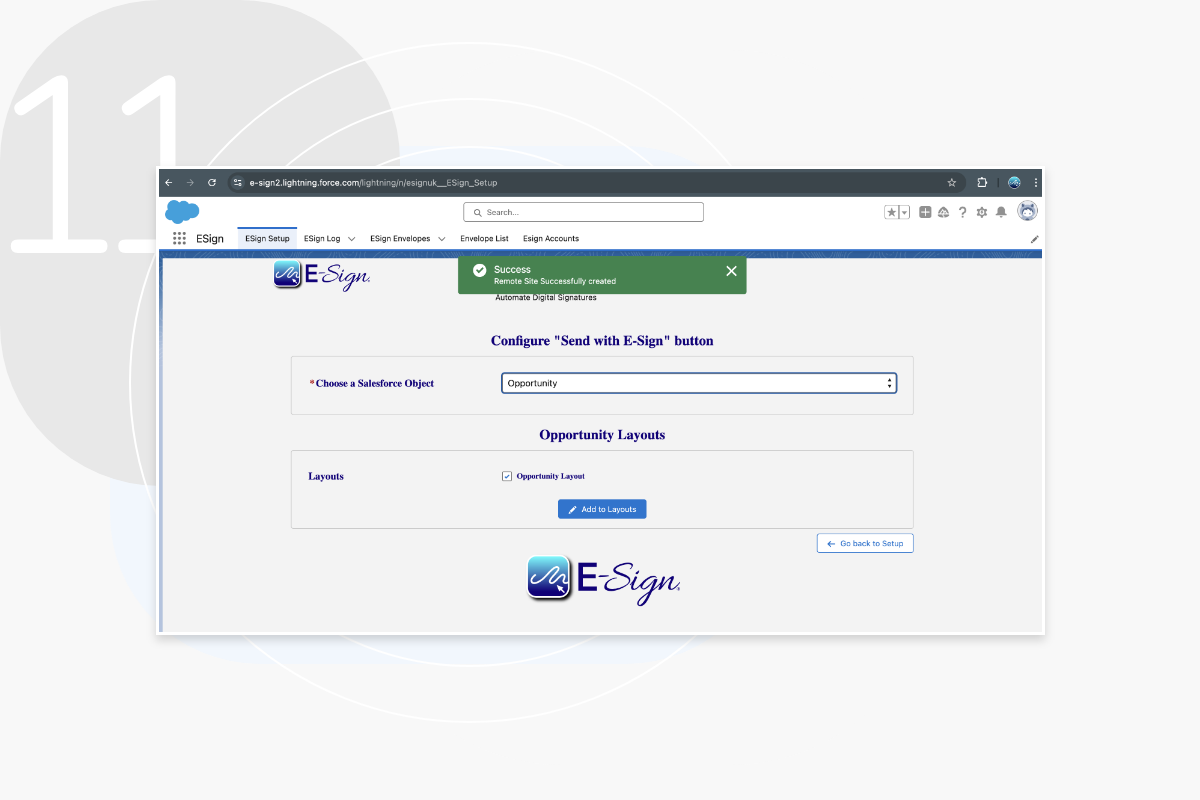
Step 10
Once this is completed, you will be required to choose the Salesforce object in which the ‘Send with E-Sign’ button will appear.
Step 11
Please select the object(s) that you wish to have the Send with E-Sign button available. For example, opportunity, leads and accounts.
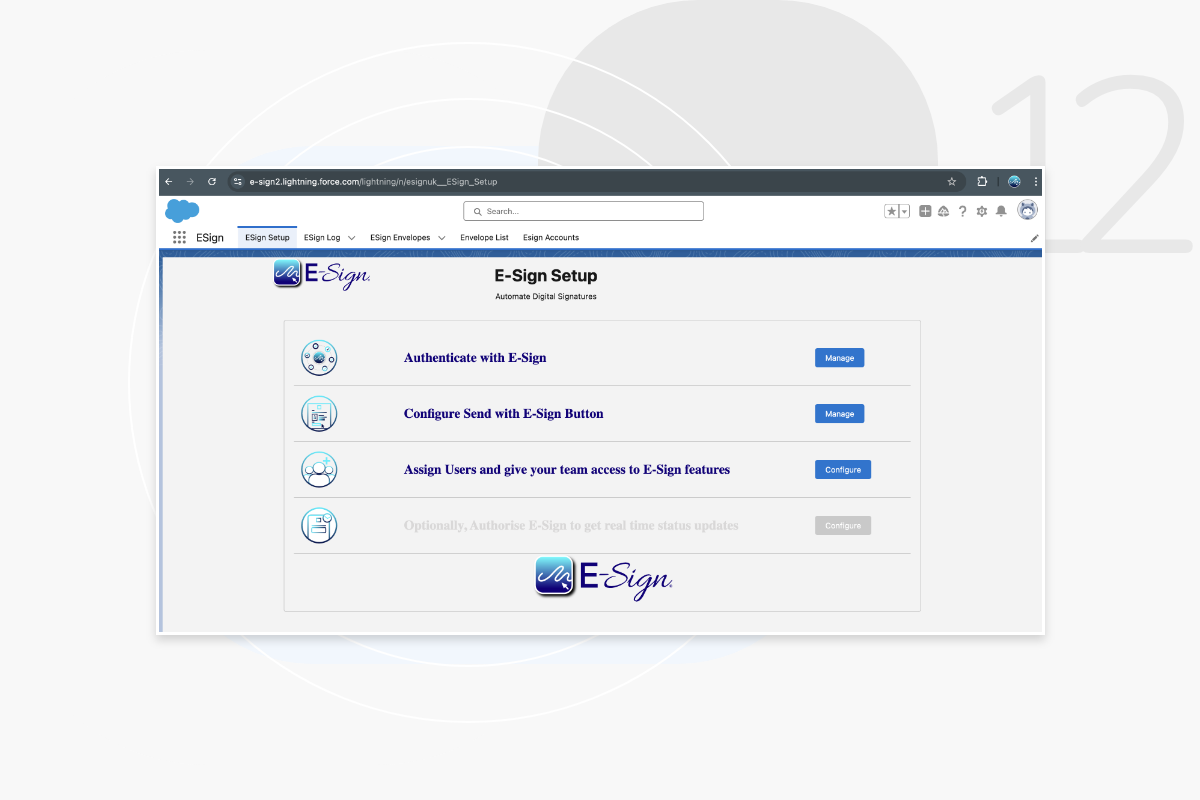
Step 12
Once complete, you have the ability to assign users and give your team access to E-Sign features within their Salesforce account.
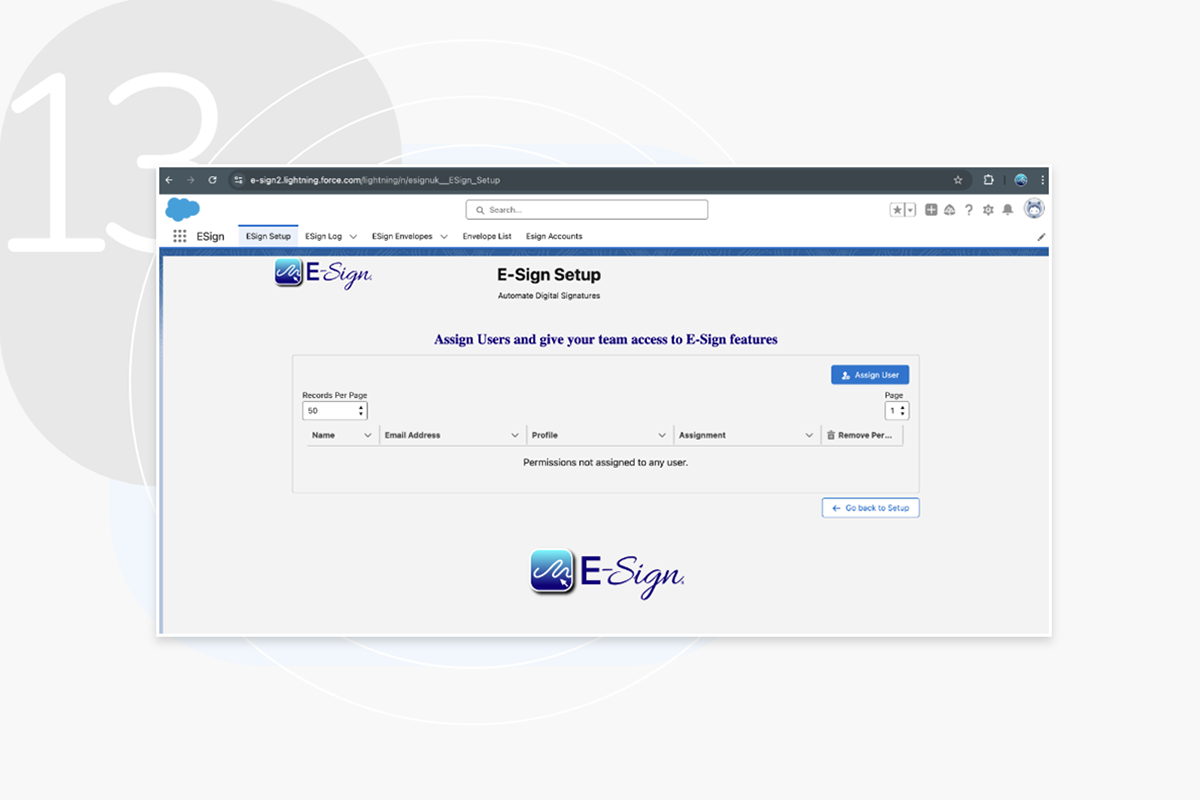
Step 13
Here you can assign users and permissions for your team members.
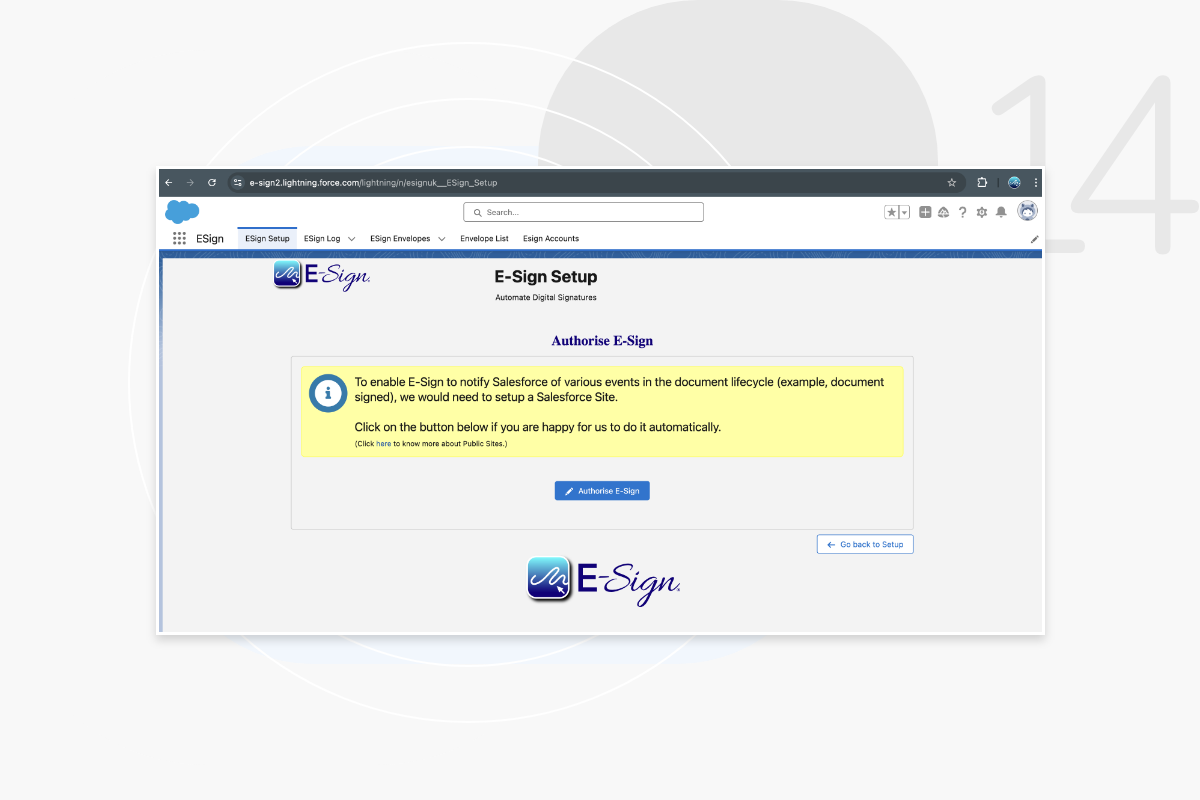
Step 14
Click ‘Authorise E-Sign‘ to set up Salesforce site. This will enable E-Sign to notify Salesforce of events in the document lifecycle.
Step 15
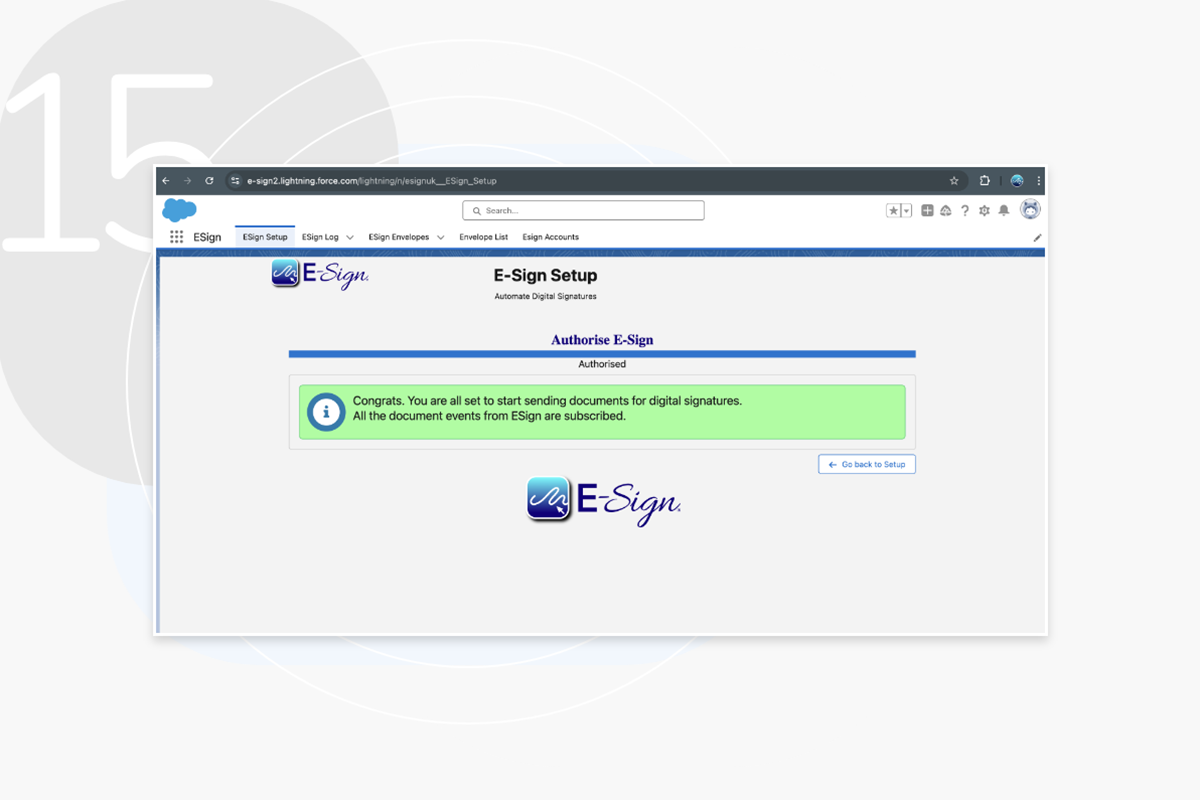
Now you will be set up, and ready to start sending documents for signature within Salesforce.
